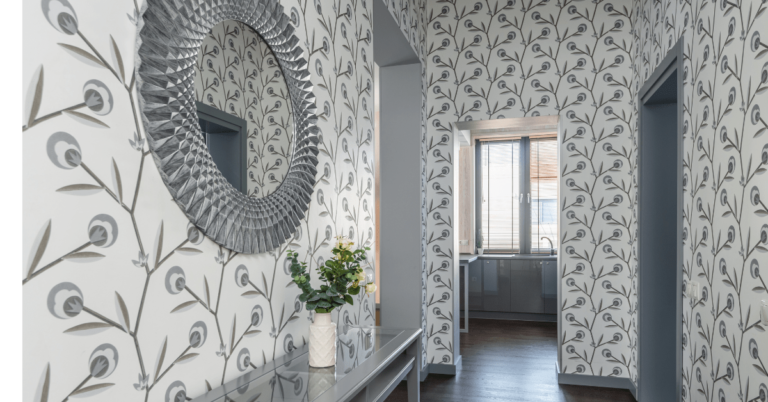
Removing old wallpaper is an essential step when revitalizing a room, but the process can be daunting—especially when it comes to dealing with leftover glue. This comprehensive guide will provide you with effective methods and tips to ensure your walls are glue-free and ready for a fresh coat of paint or new wallpaper. By following these steps, you can save time and energy, making your home improvement project a breeze.
Table of Contents
- Understanding Wallpaper and Its Adhesives
- Preparation: What You Need
- Method 1: Baking Soda, Soap, and Vinegar
- Method 2: Fabric Softener
- Method 3: Commercial Wallpaper Glue Remover
- Method 4: Trisodium Phosphate (TSP)
- Method 5: Using a Heat Gun
- Conclusion: Revitalizing Your Space
Understanding Wallpaper and Its Adhesives
Wallpaper adds character and style to any space, but over time, it can become outdated or damaged. When you decide to change your wallpaper, the challenge often lies in the adhesive left behind. Understanding the type of wallpaper glue used can help you choose the best removal method. Most wallpaper adhesives fall into three categories:
- Traditional Paste: Common in older wallpapers, this type can usually be removed with warm water.
- Strippable Adhesives: These modern adhesives allow for easier removal, but residue can still remain.
- Pre-pasted Wallpaper: This type activates with water and can also leave some glue behind when removed.
Knowing what you’re working with can guide your choice of removal method.
Preparation: What You Need
Before diving into the removal process, proper preparation is crucial to ensure a smooth and efficient experience. Here’s a list of necessary tools and materials:
Equipment / Tools
- Bucket or spray bottle
- Gloves
- Sponges
- Towels or rags
- Putty knife
- Utility knife
- Heat gun (if necessary)
Materials
- Drop cloths
- Painter’s tape
- Fabric softener
- Liquid dish soap
- Baking soda
- White vinegar
- Commercial wallpaper glue remover
- Trisodium phosphate (TSP)
Safety Precautions
- Ensure adequate ventilation in the room.
- Wear gloves and protective eyewear, especially when using chemical removers or TSP.
- Turn off electricity to any outlets or switches that might be near the work area.
Method 1: Baking Soda, Soap, and Vinegar
Step-by-Step Instructions
- Prepare the Room and Cleaning Solution: Start by laying down drop cloths and applying painter’s tape over electrical outlets and switches. In a bucket, mix 1 gallon of hot water with 1 tablespoon of baking soda and 1 cup of white vinegar.
- Apply the Cleaning Solution: Use a sponge or spray bottle to apply the solution to the wallpaper glue. Ensure the area is damp but not soaking wet. Allow the solution to sit for 3-5 minutes to loosen the glue.
- Remove the Wallpaper Glue: Wipe away the softened glue with a damp towel. For stubborn spots, gently scrape with a putty knife.
- Rinse the Walls: Use warm water to rinse the wall and remove any leftover solution. Let the area dry and repeat as necessary.
Method 2: Fabric Softener
Step-by-Step Instructions
- Score the Wallpaper Glue: Use a utility knife to make shallow crisscross cuts in the wallpaper glue, careful not to damage the wall.
- Mix and Apply the Fabric Softener Solution: In a bowl, combine equal parts warm water and liquid fabric softener. Apply this mixture to the glue using a sponge or spray bottle. Let it sit for 10-15 minutes.
- Remove Wallpaper Glue: Wipe the softened glue away with a towel. Use a putty knife for any remaining stubborn residue.
- Rinse the Walls: Rinse with warm water and allow the walls to dry, repeating in small sections as needed.
Method 3: Commercial Wallpaper Glue Remover
Step-by-Step Instructions
- Apply the Commercial Remover: Follow the manufacturer’s instructions carefully for applying the commercial wallpaper glue remover.
- Wait for the Product to Take Effect: Allow the product to sit for the recommended time to soften the glue.
- Remove the Wallpaper Glue: Wipe away the softened glue with a towel. Use a putty knife for any stubborn spots.
- Rinse the Walls: Rinse with warm water and let the walls dry, repeating as necessary.
Method 4: Trisodium Phosphate (TSP)
Step-by-Step Instructions
- Prepare the TSP Solution: Mix TSP into a bucket of hot water, using the ratio specified on the packaging. A spray bottle can make application easier. Wear gloves, eye protection, and a mask.
- Apply the TSP Solution: Spray the solution onto the glue, letting it sit for 10-15 minutes.
- Remove the Wallpaper Glue: Wipe away the softened glue with a towel, then use a putty knife for any remaining residue.
- Rinse the Walls: Rinse the walls with warm water, ensuring that all TSP residue is removed. Allow the walls to dry.
Method 5: Using a Heat Gun
Step-by-Step Instructions
- Heat the Wallpaper Glue: Turn on the heat gun and hold it a few inches away from the wallpaper glue to avoid damaging the wall.
- Remove the Wallpaper Glue: As the glue softens, wipe it off with a damp towel. For stubborn areas, gently scrape with a putty knife.
- Rinse the Walls: Rinse the walls with warm water and let them dry, repeating the process until all glue is removed.
Conclusion: Revitalizing Your Space
Removing wallpaper glue is a crucial home improvement task that may seem tedious, but with the right preparation and methods, it can be accomplished efficiently. Whether you choose to use baking soda, fabric softener, commercial removers, TSP, or a heat gun, remember to work in manageable sections and allow the cleaning solutions sufficient time to take effect. Once all glue is removed, your walls will be primed for a fresh coat of paint or new wallpaper, giving your living space the rejuvenation it deserves.

