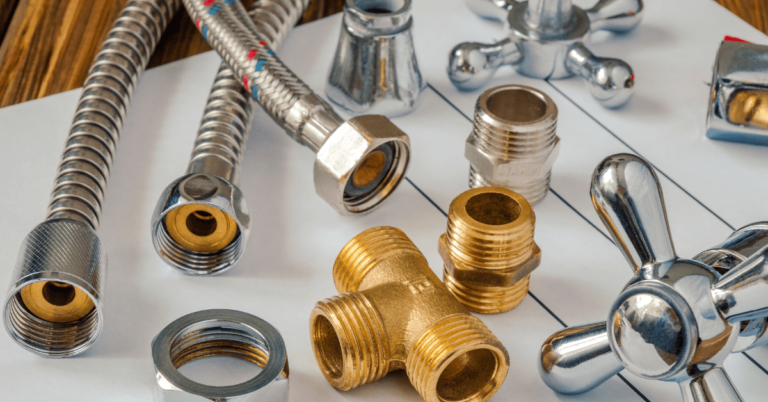
When it comes to kitchen and bathroom remodeling, plumbing is one of the most critical aspects to get right. Whether you’re upgrading fixtures or completely reconfiguring your layout, ensuring that your plumbing system complies with local and national codes is essential. Ignoring these regulations can lead to costly fines, health hazards, and potential structural damage. In the U.S., the Uniform Plumbing Code (UPC) is widely adopted, but local variations exist, so it’s crucial to consult your local building department before beginning your project.
In this comprehensive guide, we will explore essential plumbing codes for kitchen and bathroom remodels, helping you navigate your project safely and successfully.
Key Plumbing Codes to Consider for Remodels
1. Venting Requirements: Ensuring Proper Drainage
A crucial part of any plumbing system is the venting. Vent pipes prevent gases from entering your home and maintain proper drainage flow. Without adequate venting, you could face slow drains and hazardous fume buildup.
- Standard Venting Code: According to most U.S. plumbing codes, all fixtures need to be vented through a properly sized pipe system. Vent pipes must be positioned and sloped to ensure airflow and prevent blockages.
- Sloping Requirements: Vent pipes should typically slope at least 1/8 inch per foot to avoid backflow issues, though some local codes allow for level vents.
2. Fixture Spacing for Kitchens and Bathrooms
Space is often limited in bathrooms and kitchens, but proper fixture spacing is vital for functionality and code compliance. Here are some common spacing requirements:
- Toilets: Typically, at least 15 inches of space is required from the center of the toilet to any adjacent wall or fixture.
- Sinks: Allow at least 30 inches between the center of sinks to ensure comfortable usage.
3. Pipe Sizing and Materials
Choosing the right pipe size is essential to ensure adequate water flow and pressure. Plumbing codes in the U.S. provide clear guidelines on the sizes of drain, supply, and vent pipes.
- Drainpipe Sizes: A minimum of 1 ½ inches for bathroom sinks and 3 inches for toilet drainpipes.
- Material Guidelines: Commonly accepted materials include PVC for drainpipes and copper for supply lines. Be sure to check your local code for specific material restrictions.
4. Water Pressure Management
Proper water pressure is critical for functionality. If pressure is too low or too high, your plumbing fixtures might not perform correctly.
- Pressure Guidelines: Standard water pressure should range between 40-80 psi. Install pressure-reducing valves if your system exceeds this range or add a booster pump for low pressure.
5. Structural Integrity: Protecting Your Home
Any changes to your plumbing system should maintain the structural integrity of your home. For instance, cutting joists to fit pipes can weaken your home’s foundation, leading to long-term problems.
- Code Requirements: Instead of cutting, bore holes through joists for pipe installation. Reinforce any joists cut for plumbing and ensure proper fire caulking around pipes to meet fire safety standards.
Additional Plumbing Code Considerations for Remodels
1. Slope Your Drainpipes Correctly
Proper sloping ensures that waste flows smoothly through your drainpipes without blockage or backflow issues.
- Drainpipe Slope: Drainpipes must typically slope ¼ inch per running foot for effective drainage. This helps avoid clogs and ensures smooth wastewater flow.
2. Use Purple Primer for PVC Pipe Connections
When working with PVC pipes, ensure they are securely joined by using purple primer, which allows inspectors to verify proper installation.
- Inspector Compliance: Purple primer is a visible indicator that you’ve followed the necessary steps to secure pipe joints, and it’s a must for passing inspections.
3. Install Cleanouts at Key Access Points
Plumbing codes in the U.S. mandate that cleanouts are installed at strategic locations to facilitate easy maintenance of drainpipes.
- Cleanout Requirements: Ensure cleanouts are accessible in kitchens and bathrooms where blockages are likely to occur.
4. Use Proper Transition Fittings for Pipe Material Changes
When switching from one pipe material to another (e.g., copper to galvanized steel), it’s essential to use the right transition fittings to prevent corrosion and ensure water flow.
- Fitting Guidelines: Use dielectric unions to prevent electrolysis when connecting copper and galvanized pipes, which can otherwise lead to corrosion and leaks.
5. Replace Outdated Gate Valves
If you are remodeling an older home, the plumbing may include outdated gate valves, which are prone to failure and may reduce water pressure.
- Valve Replacement: Upgrade to full-bore ball or gate valves to improve water pressure and ensure a longer lifespan for your plumbing system.
6. Install Water Hammer Arresters
Plumbing codes often require water hammer arresters for appliances like dishwashers and washing machines to prevent loud banging noises and pressure surges in the pipes.
- Arrester Installation: Install these devices on water supply lines to cushion the pressure created when water flow is abruptly stopped.
Understanding Specific Plumbing Code Regulations for Pipes
Branch Pipes and Fixture Units
Plumbing codes specify that the size of branch pipes and their corresponding fixtures must align to ensure proper water delivery and drainage.
- Branch Pipe Size: Use ½-inch pipes for most fixtures and ¾-inch pipes for larger appliances, such as water heaters.
- Fixture Units: A detailed chart of fixture units can guide the correct sizing of drainpipes. For example, a toilet requires at least a 3-inch drainpipe.
Conclusion: Ensure Plumbing Compliance for a Successful Remodel
Plumbing plays an essential role in any kitchen or bathroom remodeling project, and following national and local plumbing codes is crucial for a safe, functional, and compliant home improvement. From proper venting and pipe sizing to ensuring adequate water pressure, adhering to these guidelines will help ensure your remodel passes inspection and functions efficiently for years to come.
Before starting your project, always consult with a licensed plumber or your local building department to verify specific code requirements in your area.

